What is the concept behind objects?
Objects represent arbitrary items (characters, places,
buildings, devices, animals, weapons, ideas, and anything
else you could think of). They are called "objects", but
don't take that term too narrow. Objects span dead as well
as living matter and even ideas.
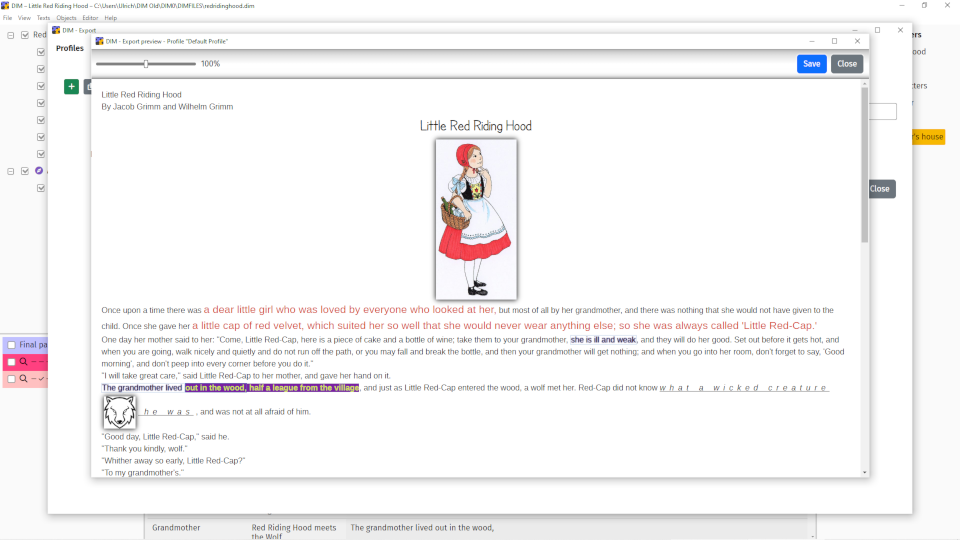
Objects can be connected to those sections of a text that
are relevant for the object, thus adding a semantical
level to the text. If, for example, an object represents a
story's main character the sentences or paragraphs giving
a physical description of that character could be
connected to the object.
Once the relationship between objects and texts is
established it is easy to overview the relevant text
sections and to highlight them in the editor if needed.
How do I add an object to the tree?
-
Use New Object above or
New Object below in the context menu of the
respective item in the object tree, or
-
Use menu item Objects → New object to add
a new object as the last child of the selected object
How can I view and edit an object's properties?
Either
- double click on a tree item, or
-
use the Properties item in an object's context
menu.
How do I move an object?
Just move the respective tree item to the desired position
in the tree and drop it there. To move a whole branch,
keep the Shift key pressed.
How do I copy an object?
To copy an object select the item in the tree, press Ctrl
and move the item to a new position in the tree. A copy of
the object will be placed there.
While the object copy inherits the properties of the
original object as far as possible, the new object is not
connected to any text.
How do I copy an object branch?
To copy a whole branch of the tree select the top item of
the branch, press Ctrl and Shift simultaneously and move
the item to a new position in the tree. A copy of the
branch will be placed there.
How do I change an object's name?
-
Use Rename in the context menu of the
respective item in the object tree, or
-
Edit the Name field in the object's properties
How do I adjust an object's appearance in the tree?
You can set the display style (bold etc) in the object's
properties or add an icon that is shown next to the item's
name in the tree.
How do I delete an object?
To delete an object
-
you can use the Delete Object option in the
item's context menu, or
-
use menu item Objects → Delete Object. You
can select several objects to delete them in one step.
How do I change an object's format?
The format of an object affects the styling of text
passages that are connected to the object, highlighting
those passages when an object is activated. You can set
the format in the Style tab of an object property
window.
Formats are inherited along the object hierarchy. If you
do not set any format controls for an object it has the
same style as its parent. All format settings for an
object is affecting its children unless you are overruling
them in any of the children individually.
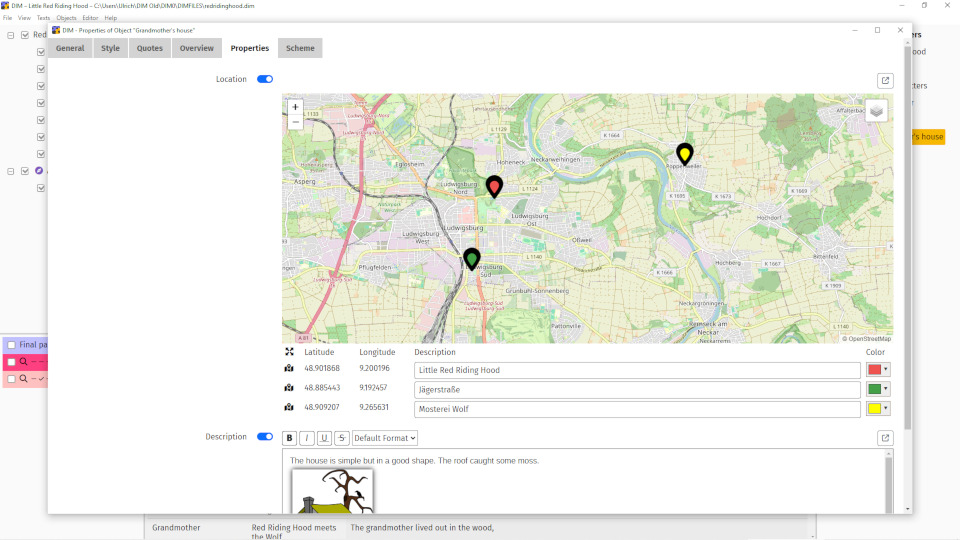
How do I change the properties of an object?
Double click on an item in the object tree or use item
Properties in an object's context menu.
How do I show an object in the editor?
An object must be activated for its effect to be shown. Do
this by either
- checking the box at an item in the object tree,
-
use menu items such as
Objects → Activate all objects,
-
in an editor's context menu use items like
Activate the Objects contained in selection or
(un)check the boxes listed for every object set for a
selection.
How do I apply an object to a text?
There are different ways to do this having selected some
text:
-
Drag and drop the editor selection to an item in the
object tree. This works no matter if the object is
activated or not.
-
Use menu item Editor → Set object(s) to
add all activated objects to the selection. If no object
is activated this has no effect.
-
Use Set activated object/s in an editor's
context menu to add all activated objects to the
selection.
How do I remove an object from a text?
Having selected some text, you can
-
Use menu item Editor → Unset object(s) to
remove all activated objects from the selection.
-
Use menu item
Editor → Remove all objects to remove all
objects (activated or not) from the selection.
-
In an editor's context menu use
Unset activated object/s to remove all
activated objects from the selection.
-
In an editor's context menu use
Remove all object/s in Selection to remove all
objects from the selection.
-
In an editor's context menu use Remove "xyz" to
remove object xyz from the selection.
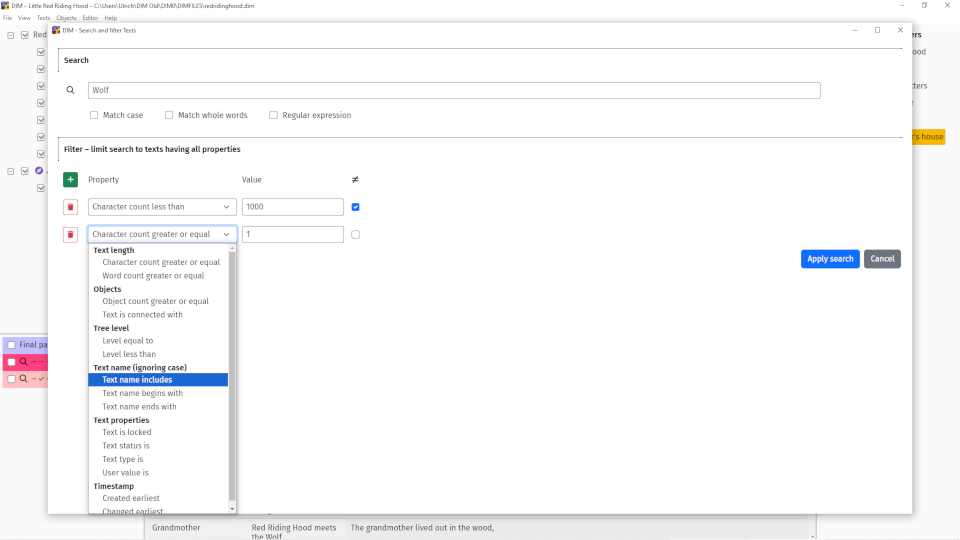
How do I find specific objects?
Use menu item Objects → Search to open a
window where you can search through various aspects of all
objects to find the matching ones. In the result list you
can open the properties of a listed object and
(de)activate it.
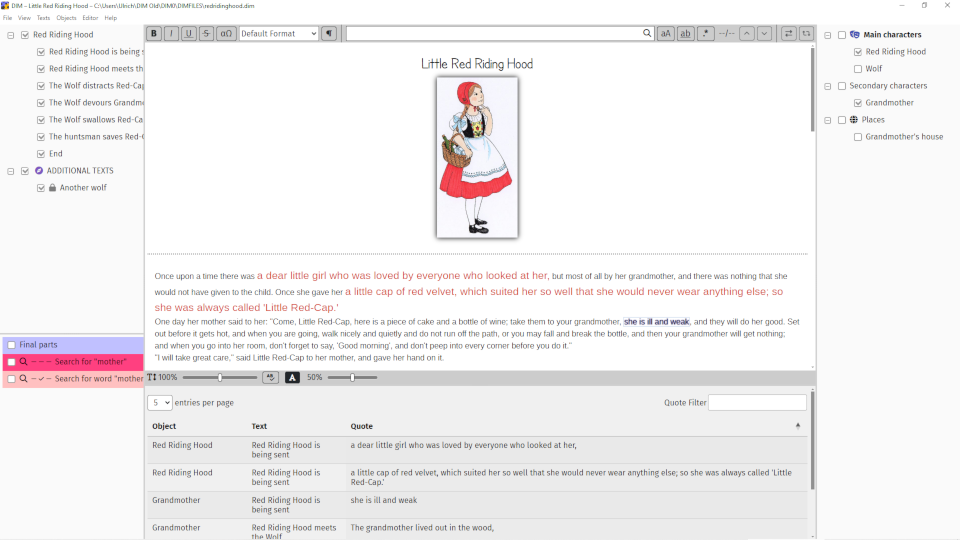
How do I highlight the text passages in the editor an
object is connected with?
To see an object's effect in the editor you must activate
it. Click the checkbox of an item in the object tree. All
text passages connected to the object are formatted in the
object's style. If you activate more than one object the
last activated object will get precedence on overlapping
text passages.
To avoid any overlapping issues you can configure single
selection mode by using menu item
Objects → Single select mode.
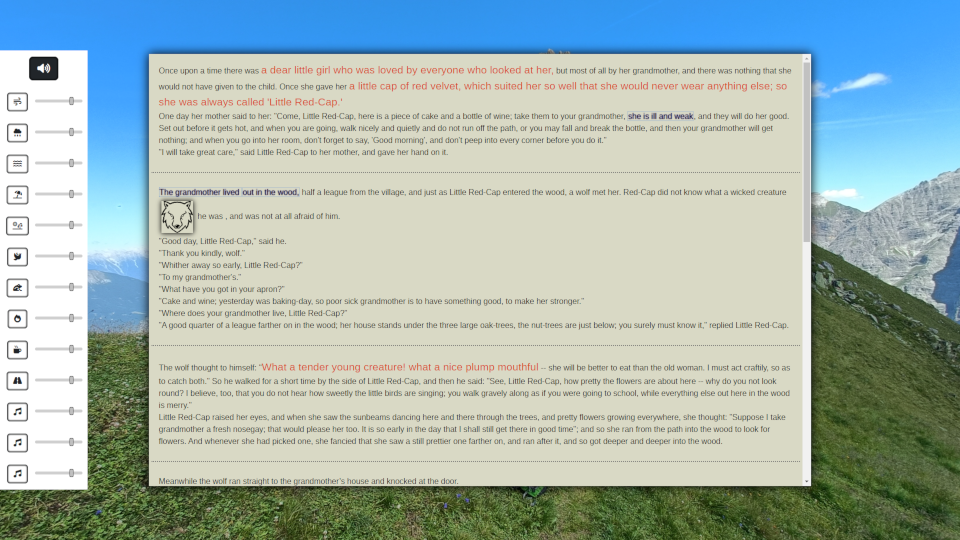
As an alternative to showing relevant text passages in the
full object's style you can switch to highlight mode by
clicking on the "A"-symbol in the editor's status bar. In
this mode the text not connected to an activated object is
shown less opaque -- how much so can be adjusted between
0% (totally invisible) and 100% (fully visible and thus
indistinguishable from the object related passages) using
the slider next to the "A"-symbol.
Can I reuse the objects of some other project?
Yes, this is possible by importing the project. See the
Imports section.